The Magic Reno Guide to Bathroom Waterproofing
At Magic Reno, we treat waterproofing as the foundation of the entire renovation: not a “step”, but a complete system designed to protect your home and your investment.
Waterproofing — The Key to a Leak-Free Bathroom (Typically 1–3 Days)
Waterproofing is the critical phase that prevents leaks behind tile, protects framing and subfloors, and reduces long-term mold risk.
The exact timeline depends on layout complexity, drying times, and whether the project includes a shower base installation or tub conversion.
Key Steps in Our Waterproofing Process
- 1) Floor & Substrate Preparation
- We inspect and level the subfloor to eliminate low spots and improve drainage performance.
- We correct issues that can compromise tile longevity (movement, unevenness, weak substrate areas).
- 2) Waterproof Substrates (Package-Dependent)
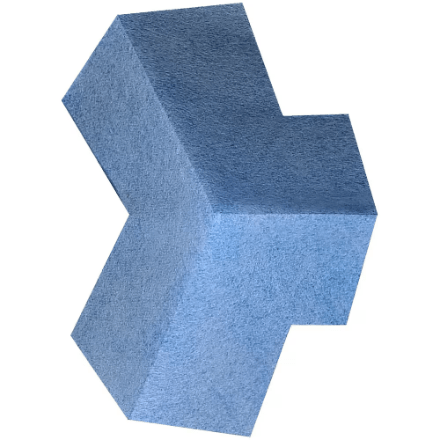
- For shower/tub zones, we use waterproof wall panels (XPS/cement board systems) where applicable.
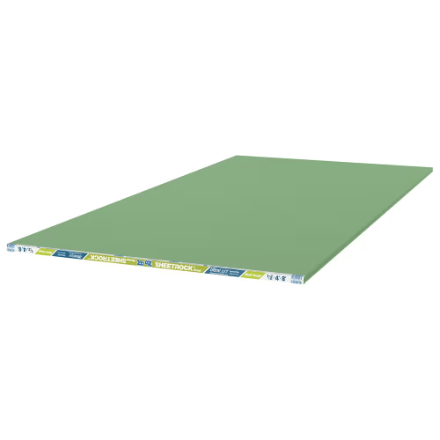
- On ceilings (where required), we use moisture-resistant drywall and appropriate coatings.
- Goal: create a stable, water-managed surface before membranes and tile are installed.
- 3) Shower Base / Pan Installation (If Applicable)
- We install the shower pan, curb (if applicable), and drain using high-strength mortar/adhesives for a watertight seal.
- We verify slope and drain alignment before waterproofing is fully closed in.
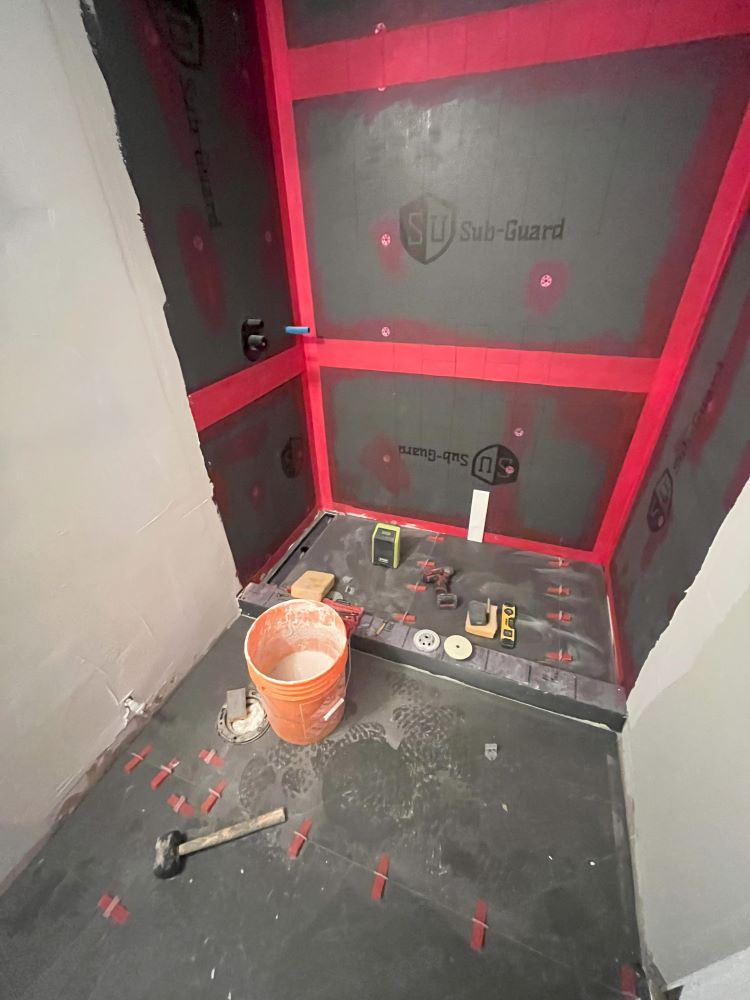
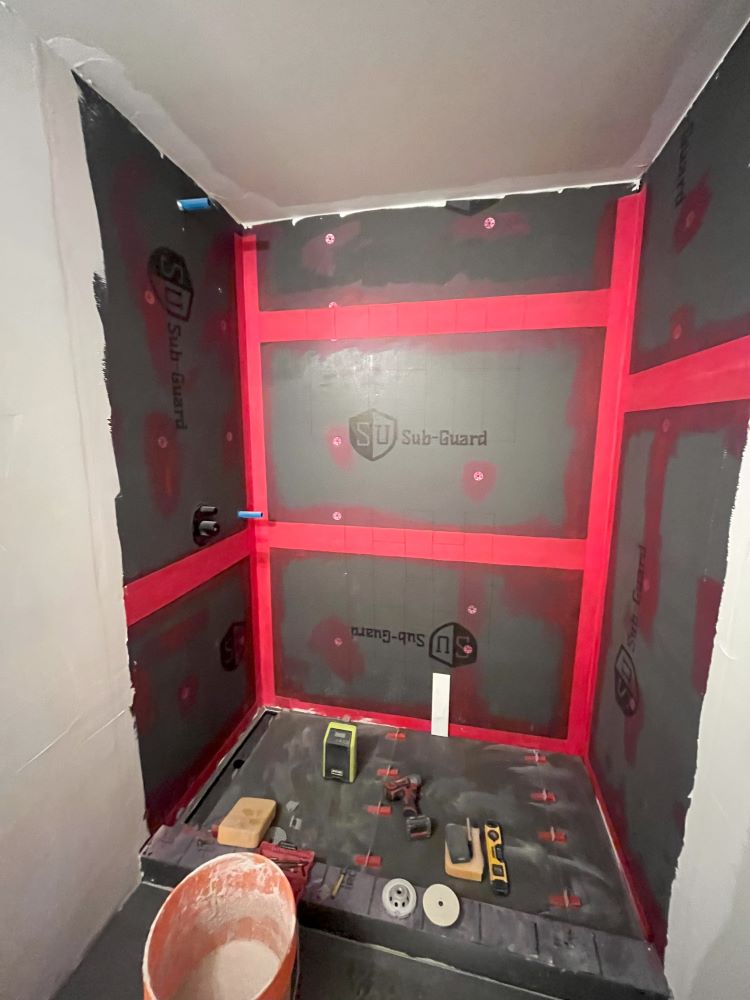
- 4) Seams, Corners & Penetrations — Sealed and Reinforced
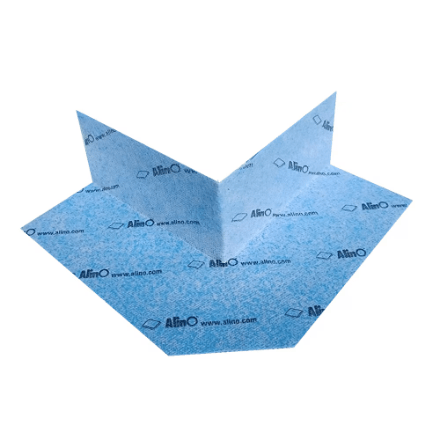
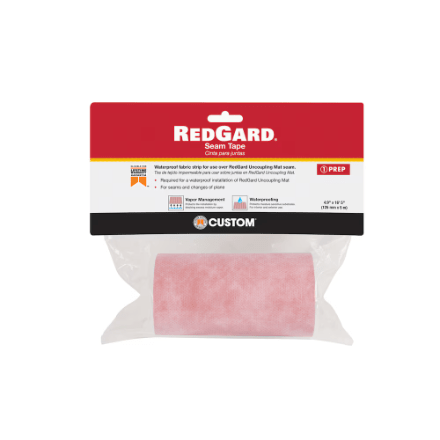
- All corners, joints, fasteners, and transitions are banded with waterproof tape and prefabricated corners.
- Two coats of premium membrane (e.g., RedGard or ARDEX S 1-K) are applied to critical areas as required by the system.
- Benefit: leak points are handled before tile goes on, not after damage appears.

24-Hour Flood Test — What We Document
Before any tile is installed, we perform a 24-hour flood test to confirm the shower base holds water and the waterproofing system is sealed as intended.
This step helps catch issues early — before finishes are installed.
- Pre-test photos: seams, corners, drain area, and penetrations (before filling).
- Plug + initial waterline: photo/video showing the drain plug and starting water level.
- Start timestamp: test start time is recorded (same-day proof).
- 24-hour confirmation: next-day photo/video confirming waterline held (no visible drop).
- Leak check: inspection of adjacent areas where accessible (edges / framing / ceiling below in some layouts).
- Pass → tile: tiling begins only after the test passes and proof is saved to the project folder.
Reference: Schluter also provides public guidance on water testing shower systems
(see water test guidance).
If you’d like, we can share flood test proof photos during your project (upon request).
Note: Exact test setup can vary by system and site conditions, but the goal is always the same: verify the waterproofing “capsule” before finishes are installed.
Materials & Costs (Example for a Typical 3-Piece Bathroom)
Below is an example breakdown of common materials used during waterproofing. Costs can vary by system, bathroom size, and tile/fixture selections.
Your exact scope and allowance details are confirmed in the itemized quote.
Materials and Consumables
We offer multiple waterproofing packages to suit different budgets and performance targets.
Below is a typical overview of materials used in Standard & Premium systems.
Standard & Premium Package — Materials Overview
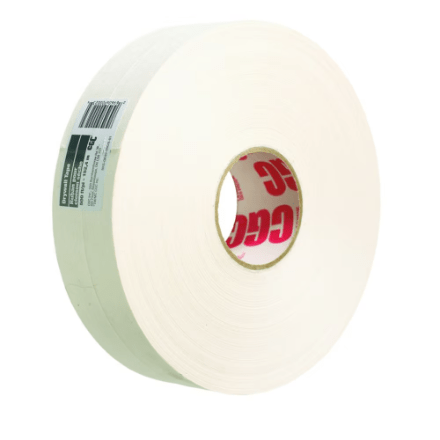
- Seam reinforcement tape: strengthens transitions and movement zones.
- Waterproofing membrane (e.g., RedGard / ARDEX S 1-K): creates a continuous moisture barrier.
- XPS waterproof wall panels: stable, moisture-resistant substrate for shower/tub zones.
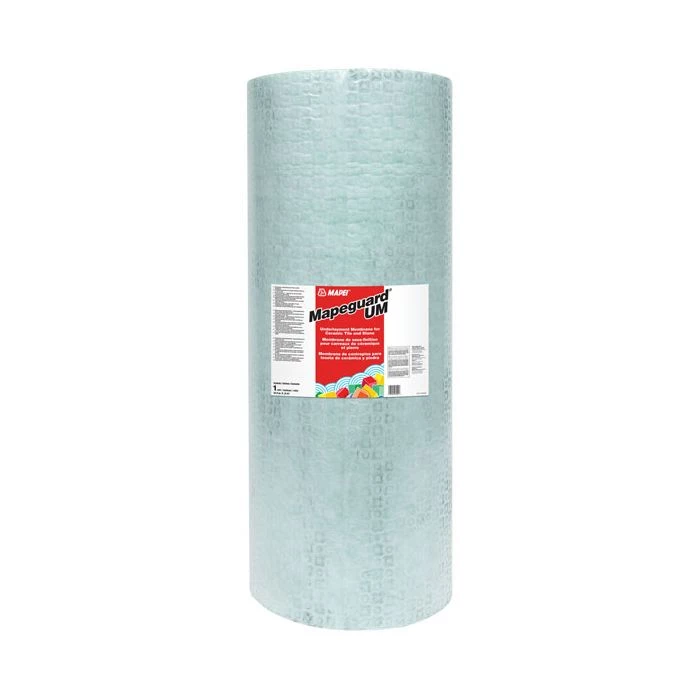
- Uncoupling / release membrane: helps manage movement and reduce tile cracking.
- Mold-resistant drywall (where applicable): added protection for non-wet-zone surfaces.


Standard Package Materials & Costs
| Category | Item | Cost |
|---|---|---|
| Waterproofing | RedGard Seam Tape for Uncoupling Mat (3 rolls, 29 ft. each) | $99 |
| RedGard Ready-to-Use Waterproofing Membrane (3.78 L) | $120 | |
| XPS Waterproof Wall Panel (4 panels, 1/2” x 48” x 96”) | $280 | |
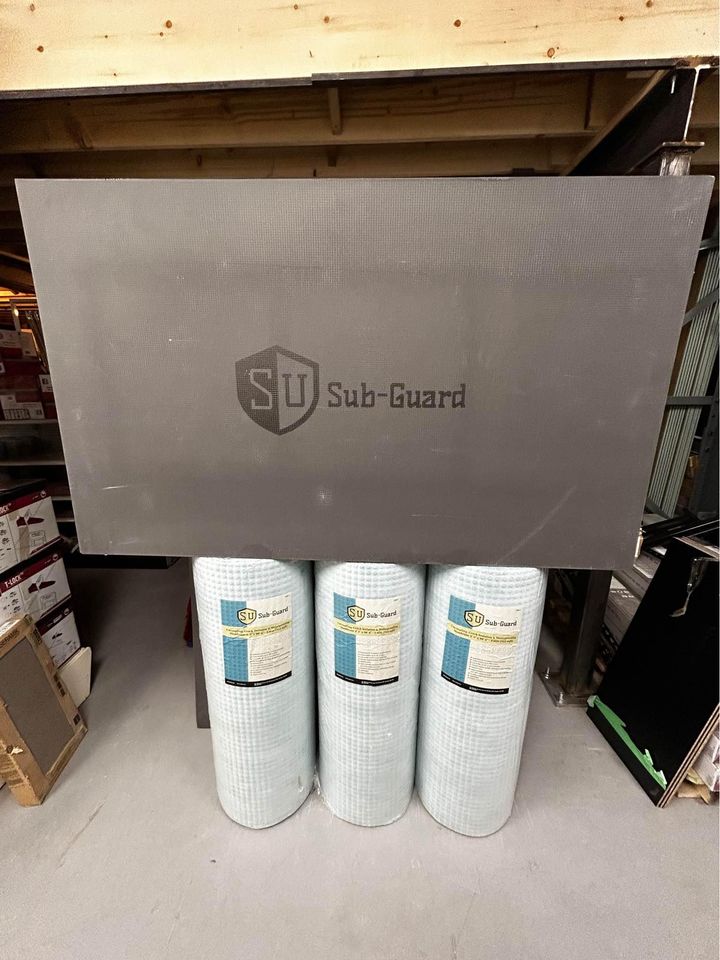
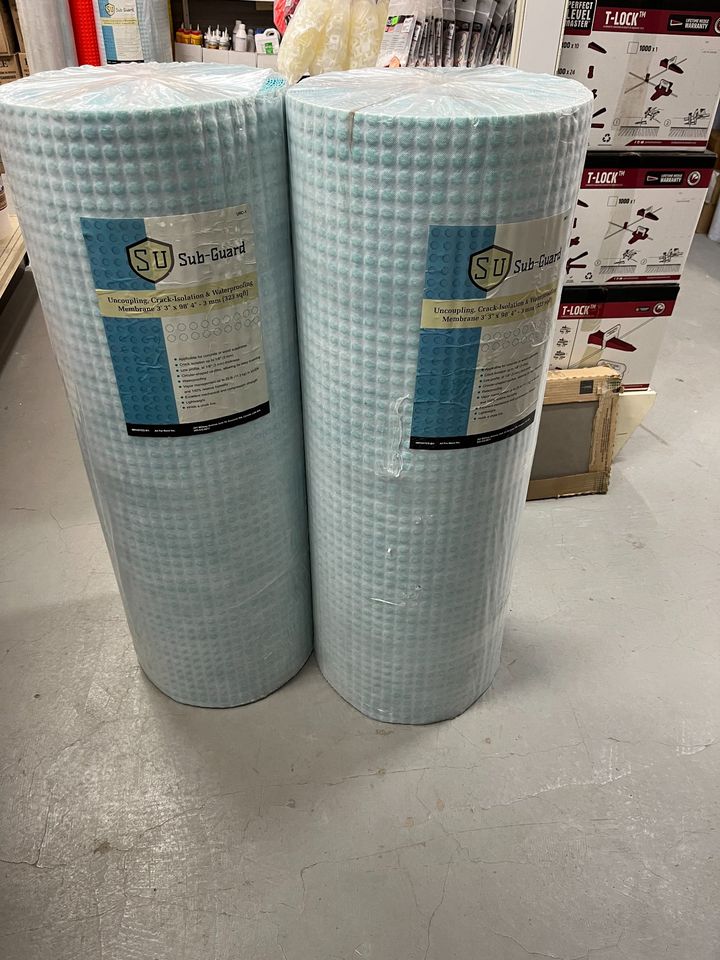
| Sub-Guard Tile Release Membrane (54 sq ft roll) | $60 | |
| CGC Mold Tough Drywall Panel (1/2” thickness, 4 ft. x 8 ft.) | $30 | |
| Fasteners & Tools | Fastener Kit: Screws and Washers (100 pcs) | $30 |
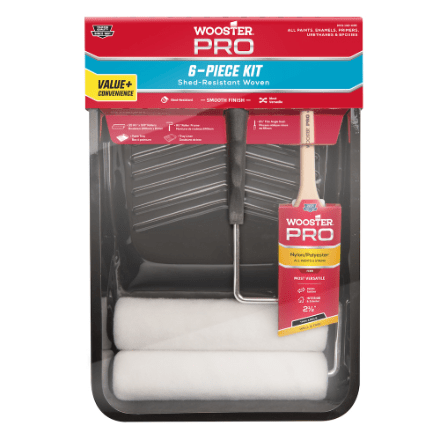
| Waterproofing Membrane Application Kit (6 pcs., Shedless Knit Rollers) | $30 | |
| 11″ x 4-1/2″ Drywall Trowel | $35 | |
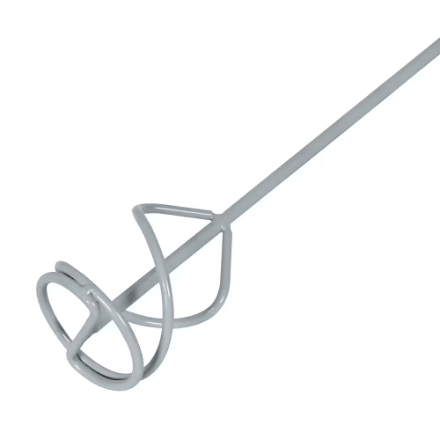
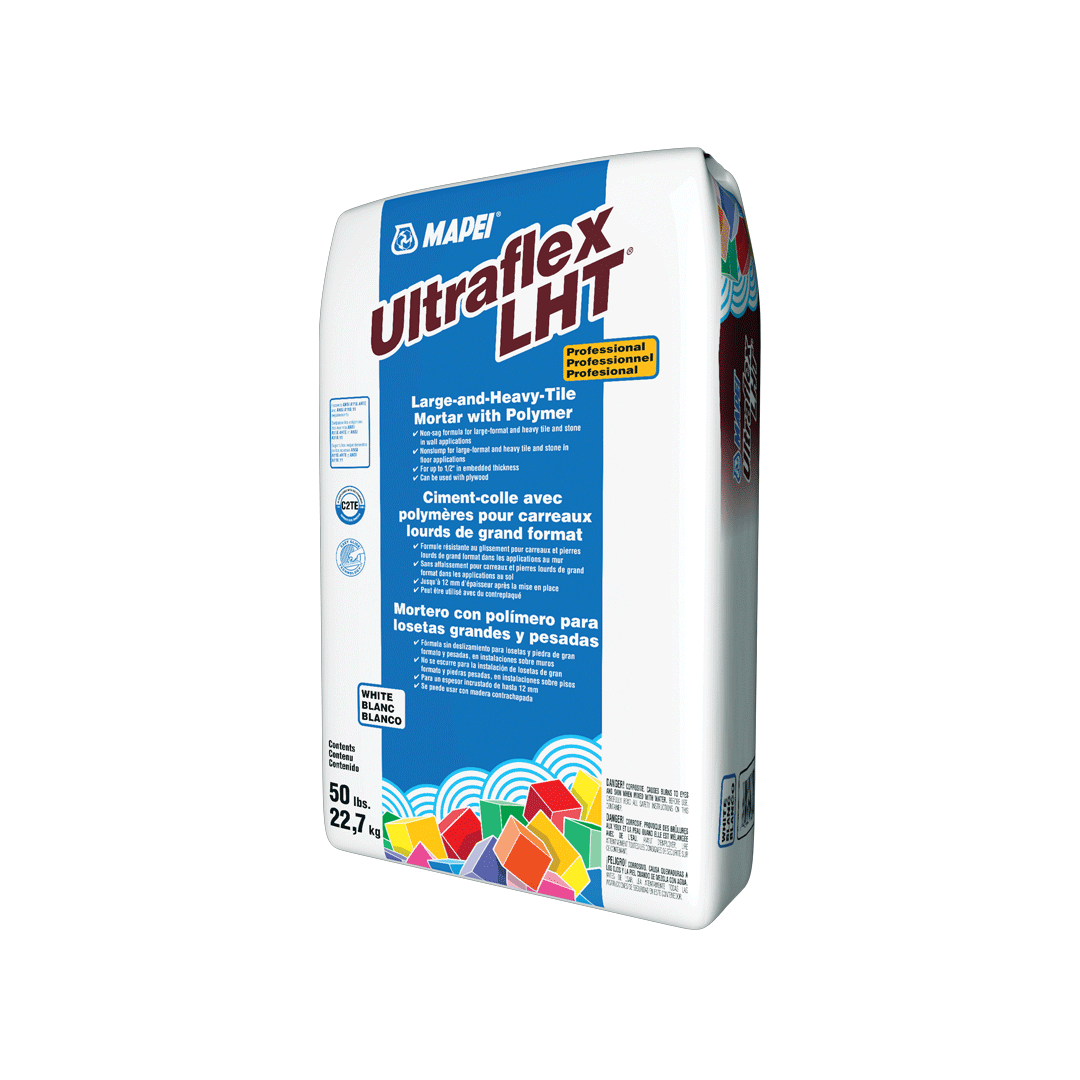
| Mortar & Finishing | Mapei Ultraflex LHT Mortar (22.7 kg) | $835 |
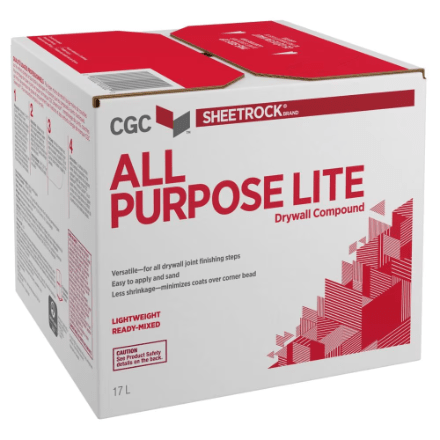
| Universal Lightweight Drywall Compound (17 L) | $30 | |
| Mixing Attachment | $17 | |
| Drywall Paper Joint Tape (2-1/16 in. width, 250 ft. roll) | $5 | |
| Estimated Total | $796 | |
| HST (13%) | $103.48 | |
| Total (incl. HST) | $899.48 |
Additional Materials for Shower Installation
| Category | Item | Cost |
|---|---|---|
| Shower Installation | XPS Shower Pan (36” x 60”) | $230 |
| XPS Shower Curb (4” x 4” x 60”) | $100 | |
| Shower Drain with Drain Cover | $100 | |
| Waterproofing | RedGard Seam Tape for Joint Separation (1 roll) | $33 |
| Waterproof Pipe Seal (2 pcs.) | $25 | |
| Waterproof External Corners (2 pcs.) | $25 | |
| Waterproof Inner Corners (2 pcs.) | $50 | |
| Mortar | Mapei Ultraflex LHT Mortar (22.7 kg) | $835 |
| Estimated Total | $593 | |
| HST (13%) | $77.09 | |
| Total (incl. HST) | $670.09 |
Example Summary (Typical 3-Piece Bathroom ~40 sq ft)
- Bathroom with Bathtub: $899.48
- Shower Add-On Materials: $670.09
- Bathroom with Shower: $1,569.57

Labour, Timeline & Package Options
Labour pricing reflects the skill and precision required to build a reliable waterproofing system.
Your project quote includes a clear scope and identifies which system and materials are used.
Luxury Package (Schluter-KERDI)
- Luxury Package: For maximum performance and long-term reliability, we can upgrade to a Schluter-KERDI system.
Depending on layout and scope, this typically adds $1,000–$2,000 compared to Standard systems.
Waterproofing Benefits (At a Glance)
- Protects against hidden water damage: helps prevent rot, swelling, and subfloor issues.
- Reduces mold risk: moisture is controlled before it enters cavities and framing.
- Improves long-term durability: tile assemblies last longer when the substrate is properly managed.
Frequently Asked Questions (FAQ)
Waterproofing prevents water from migrating behind tile through grout lines and seams — which can lead to mold, rot, and expensive repairs.
A properly built waterproofing system protects both finishes and structure.
Most bathrooms require 1–3 days for waterproofing, depending on system type, drying times between coats, and whether a shower base is being installed.
Yes. For shower bases, we perform a 24-hour flood test before tiling. We document the test with time-stamped photos/video and proceed only after the test passes.
Yes. We offer multiple systems (Standard / Premium / Luxury) and will explain the pros and cons of each during your consultation.
Your itemized quote confirms exactly which system is used.
Testimonial

Shailendar Gill
Thanks to Magic Reno’s meticulous waterproofing, our new bathroom has stayed absolutely flawless through every splash and shower! We highly recommend their services!
Our Commitment
We build bathrooms that are not only beautiful — but engineered to stay dry.
If you have questions about systems, materials, or scope, we’ll explain everything clearly during your consultation.
Book a free consultation and get a transparent, itemized estimate.
Get Free Consultation